The Preliminary steps |
|
The necessary materials:
|

|
The necessary equipment:
|
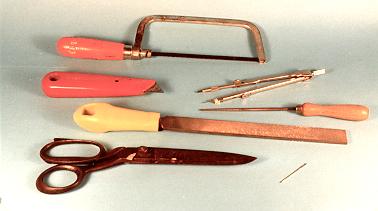
|
|
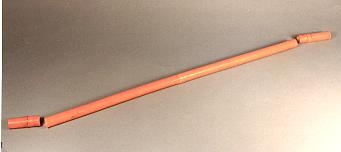
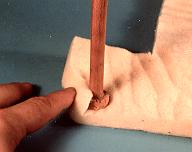
The first step:
Find a piece of straight Tonkin of about 40cm (16") length. This length should be cut between two nodes. This means that you have another node in the centre of the stick. |
|
|
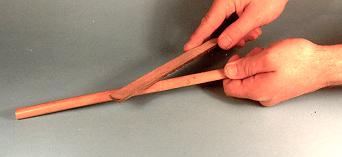
2.
Remove the middle node with the file. |
|
|
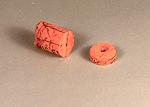
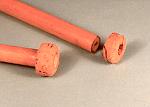
3.
Cut a slice from the cork, about 10mm thick and cut a hole in that slice to put the stick through. It should fit tight! Glue the slice to the top of the stick. |
|
The first layer of felt. |
|
|
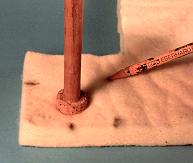
4.
Measuring the right size and marking off the felt. After the correct size has been marked off, cut a square piece of felt along the marks. |
|
|
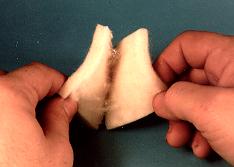
5.
The square piece of felt has to be split in two halves. Starting at the edge and turning the piece around, you have to split the whole square into two new squares, each being half the thickness of the original square. |
|
|
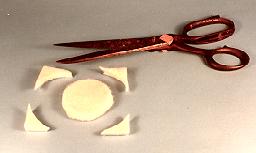
6.
Cut away all the superfluous felt so that you get a perfect circle of felt that is to be used as the first (inner) layer for this stick. |
|
|
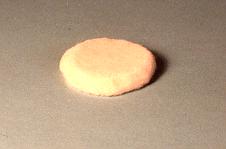
7.
Now you have a circular piece of felt, 5mm thick. You have to shave off the edges a little bit. |
|
|
8.
Now baste the thread along the circumference of the circle around the shaved off edge. The distance between the "stitches" should be around 10mm. |
|
|
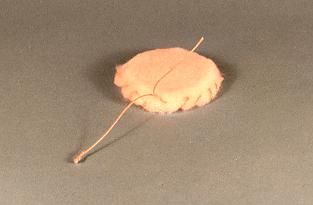
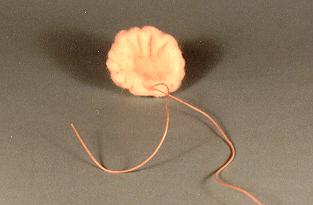
9.
This is how the final first layer should look. The thread is going all the way around. |
|
|
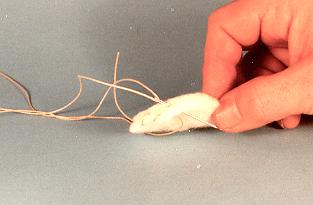
10.
Put your thumb in the center of the circle and pull both the ends of the thread gently. Now you'll get a small cave that should fit around the cork at the top of the stick. |
|
|
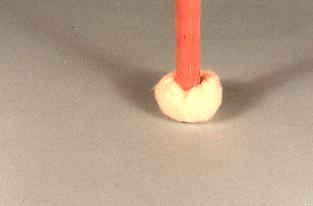
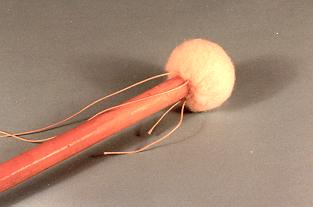
11.
The end of the first stage. The layer of felt has been put around the cork and the thread has been adjusted to get the felt tight around the cork. Loose ends have been removed. |
|
The final stage.(Also the repair stage) |
|
|
12.
For the second layer of felt you repeat the steps 4-7. This time the circular piece of felt should have a larger diameter because it has to fit around the first layer. Instead of one thread, you use two threads starting at opposite ends. |
|
|
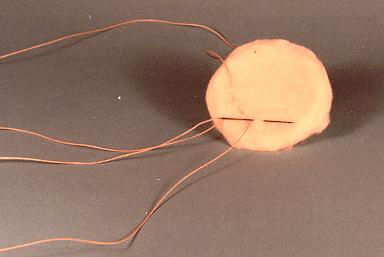
13.
As you can see here, the second (innermost) thread is about 12-14mm from the outermost thread. It is not going through the felt but just under the surface. The outermost thread is the same is in the first layer. |
|
|
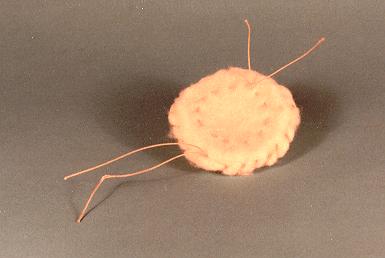
14.
After you put the second layer on top of the first one, you first have to tighten the innermost thread and then the outermost. Carefully adjust the tension so that you get a perfect ball of felt. |
|
|
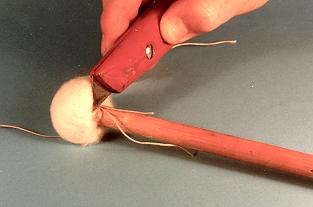
15.
Remove the inside thread by cutting it off with the knife. Be sure that no part of the thread is left over outside the felt. |
|
|
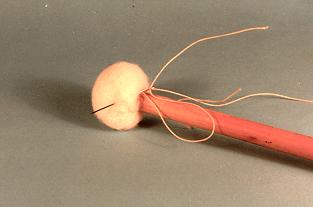
16.
This is the great trick to remove the outside thread completely out of sight. With the help of the needle you put the remains of the thread into the ball of felt and out again at its side. |
|
|
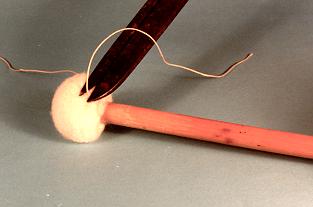
17.
Take the thread and put it tight and cut it off with the scissors. Everything will disappear in the felt itself! |
|
|
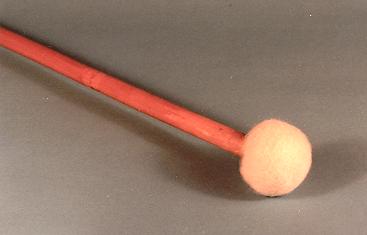
18.
The stick is ready for use! |
|
|
All pictures on this page are copyrighted by Frans Asselman and Marc Zoutendijk. It is illegal to copy them from this page and use them in your own pages or written publications. |
|